Three Google Drive Practices for Admins

If I had to pick one tool I currently use to administrate to keep, it would be Google Drive, walking away. I don’t even really know where to begin in talking about how useful it is, but it definitely deserves primacy among everything else. It’s singularly useful. Let me show you what I mean.
Before I start tossing out examples, I should clarify that the main reason that Drive is so useful for me is because my district is technologically forward-thinking, and has gone “all in” on Google. We are very much at a point now where older, non-Google tools are starting to deprecate, a process that will only accelerate once we flip the final Gmail switch next month, and finally move off of our Exchange email server. I note all of this because if your district doesn’t look like my district, you might not find the same sort of utility in what’s to follow. But if you see similarities between my place and yours, then here are some Drive-based things that I do that have helped me do my job:
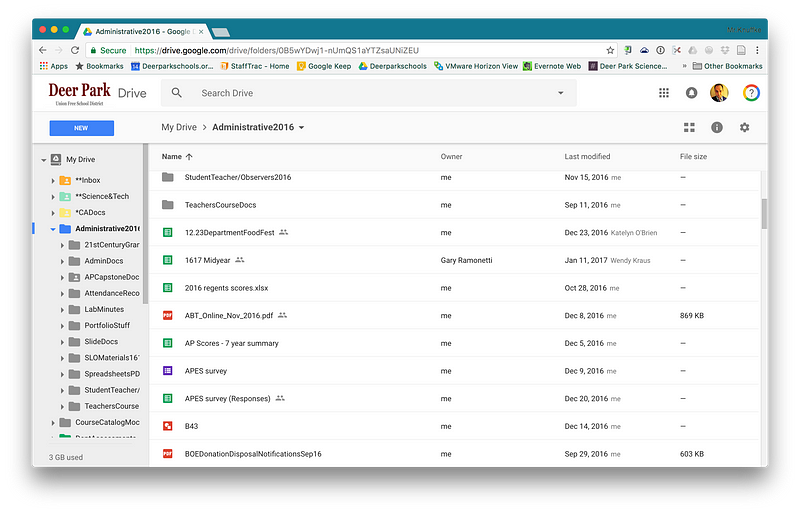
1. Put everything you could possibly need in Drive- This one is probably the most obvious, but it should be mentioned right at the top. All things that can go in drive, do go in drive. I inherited a collection of administrative files that span back through (at least) the past three bosses. This collection was spread across several folders on our district’s shared network drives. Which meant that if I wanted to access any of it, I had to either be on a computer connected to the district network (one of a series of increasingly-vintage, Windows-based boxes, spread liberally around the buildings, or on my work laptop when it is connected to the district wifi), or hook in to a virtual machine via VMWare. In other words, time-to-access for administrative files was a bottleneck in my process. So I took all of the documents that I figured I could possibly need, and dropped them in to my district Drive. Simple, simple, simple.

Putting the files in Drive lets me access them from any computer with a web browser, and reduces my time-to-access to seconds from what would have previously been multiple minutes. Any editing/modification of those files happens within google’s Docs/Sheets/Slides ecosystem, and all the built in Drive abilities for sharing, versioning, and collaborating come along for the ride. It’s a no-brainer. Obviously, I’ve been aided in all of this by the Big Fish in my district, who have allowed me to do things like turn the pre-existing observation template (an MS Word document) into a corresponding Google Doc, a process that basically involved me clicking the “open in Google Docs” option, and doing some minor table realignments.
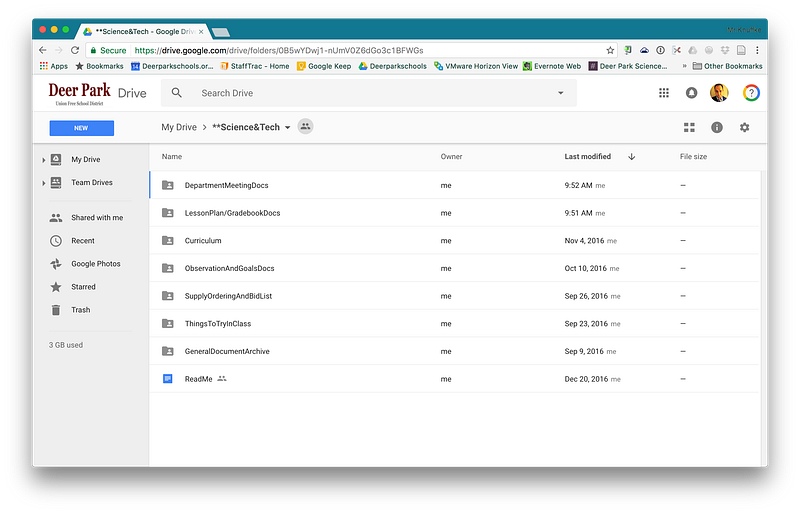
2. Collect things in folders- Another one that seems pretty obvious, but should still be mentioned. One thing that I disliked when I was a teacher was that documents and information would be pushed out to me via email (or worse, placed in my main office mailbox on paper), and then the onus would be on me to keep track of them. This was probably exacerbated by the fact that the Outlook Exchange email portal that we use in our district is. the. pits. Searching email is not easy unless you route your account to a client like Outlook proper or (in my case) mail.app on OSX. But even then, if I needed a document that was shared via email, I had to go and remember how it originally came my way if I hoped to find it again. Sometimes, when I couldn’t remember, I found myself sending a followup email to the original source, asking for another copy. None of what I just described is fun, or a good use of anyone’s time. So one of my first acts as the CA for Science and Tech was to make a “Science&Tech” folder on the district Drive, and give my teachers view access to it. Doing this gave me a single place to put copies of anything I need to share with my department, and it gave them a single place to go to when they needed access to those things. Any teacher who is interested can just bookmark the URL for the department folder, or just access it from within their own district Drive.

There are a few really nice things about setting up a folder like this. I can make internal folders and control who has access to them. For example, if I need to share something only with the middle school teachers, I can put it in a “middle school” folder that I’ve added the middle school department to, etc. It’s also been really handy to just add new staff members to the department folder when they come onboard, and touch base with them afterwards to see if they have any lingering questions after perusing the files in the collection. And of course, my use of folders for provisioning files isn’t just limited to my staff. Early on, I built and shared a “Curriculum Associate” folder that serves as a hub for sharing materials between myself and the other CAs in the district. Similar folder setups can be used to facilitate file sharing and collaboration across any organizational levels in the district for any purpose such common access collections are necessary.
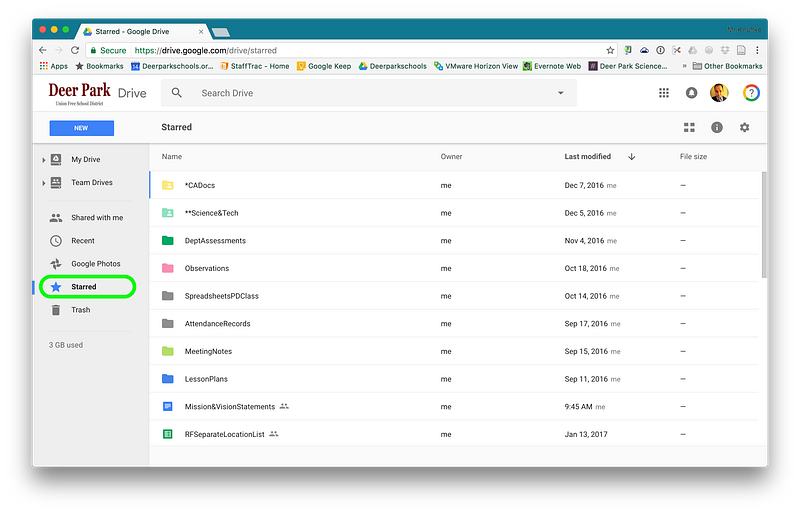
3. Star items for quick retrieval- This last tip is a little more mechanics-focused than the first two, but it’s still important. Throwing everything into Drive tends to make the internal structure of the Drive get pretty messy pretty quickly. Google would probably claim that this isn’t a real problem; that the desire to have everything neatly organized is a legacy effect of coming from a world of desktop computers, and that the internal Drive search should be sufficient to find what you need when you need it. In my experience, that’s not quite true. While the internal Drive search is good (and continually getting better), it’s still not so perfect that it can find what I want when I query it without fail. To help with this, I tend to toss everything in to folders pretty quickly so that I’m not confronted with a maximally entropic view of files strewn about when I log into my Drive. I also try to name things logically to help with search retrieval. These practices are more a function of me than they are anything really useful for the general audience. But there is one thing that I do to make it easy to find the files I need in Drive that I will pass on to the readership: I star the things I’m using. Starring is a built-in feature of Drive that essentially functions like a web browser’s bookmarks do. By adding a star to the files I use frequently, I get quick access to them by clicking on the “Starred” option at the top of the drive file-structure on the left of the Drive UI.

This gives me super-fast access to anything I’m using a lot (a single click is always faster than typing a search query). Sure, the time savings (~10 seconds) might seem small in any one instance, but when we are talking about things that occur somewhere between tens and hundreds of times a day, that savings adds up pretty quickly.
You need to be a member of School Leadership 2.0 to add comments!
Join School Leadership 2.0